TEST PIPELINE IN FRONT OF ITS
Before starting, make sure you have the following:
- Vagrant, Download from Here ( Vagrant is an open-source software product for building and maintaining portable virtual software development environments; e.g., for VirtualBox, KVM, Hyper-V, Docker containers).
- Git, Download from Here ( It is a free and open-source version control system used to handle small to very large projects efficiently. Git is used to tracking changes in the source code, enabling multiple developers to work together on non-linear development.).
- VirtualBox, Download from Here ( Oracle VM VirtualBox is cross-platform virtualization software. It allows users to extend their existing computer to run multiple operating systems including Microsoft Windows, Mac OS X, Linux, and Oracle Solaris, at the same time).
- Make sure that The Virtualization Technology is enabled on your machine ( If you have an Intel processor you can check that using : Intel® Processor Identification Utility ).
In the example bellow "Intel Virtualization Technology" is disabled, so if is the case for you too try to activate it on your BIOS.

If you see that "Intel Virtualization Technology" is Enabled on your BIOS but you keep seing it disabled on Intel processor identification Utility, run this command manually using (cmd.exe) and restart your PC. *
dism.exe /Online /Disable-Feature:Microsoft-Hyper-V
- Here "Intel Virtualization Technology" is Enabled :

- To deploy this solution we have 4 docker-compose files :
This Docker Compose file sets up a WordPress website with a MySQL database, along with some monitoring tools like Node Exporter and Cadvisor.
1-MySQL :
- The MySQL service uses the official MySQL Docker image and sets up a database with the name wordpress_db.
2-WordPress :
- The WordPress service uses the official WordPress Docker image and depends on the MySQL service. It exposes port 8888 on the host machine, which maps to port 80 in the container. The WORDPRESS_DB_HOST, WORDPRESS_DB_NAME, WORDPRESS_DB_USER, and WORDPRESS_DB_PASSWORD environment variables are set to connect to the MySQL database.
3- Node Exporter:
- The Node Exporter service uses the official Prometheus Node Exporter Docker image. It exposes port 9100 on the host machine, which maps to port 9100 in the container. It also mounts the host machine's /proc and /sys directories as read-only volumes to collect system metrics.
4- Cadvisor:
- The Cadvisor service uses the official Google Cadvisor Docker image. It exposes port 8081 on the host machine, which maps to port 8080 in the container. It also mounts the host machine's /, /var/run, /sys, and /var/lib/docker directories as read-only volumes to collect container metrics. It depends on the Redis service.
5- Redis:
- The Redis service uses the official Redis Docker image. It exposes port 6379 on the host machine, which maps to port 6379 in the container.
- This Docker Compose file sets up a Jenkins server with a Node Exporter and Cadvisor for monitoring.
- Jenkins:
- The Jenkins service uses the official Jenkins Docker image and exposes port 5555 on the host machine, which maps to port 8080 in the container. It also mounts a volume named jenkinsvol1 to persist Jenkins data.
- This is a docker-compose file that sets up a monitoring stack using Prometheus, Grafana, Node Exporter, Portainer, Redis, and Cadvisor.
1- Prometheus :
Prometheus is a monitoring system and time-series database. It is used to store and query metrics collected by Node Exporter and other exporters.
2- Grafana :
Grafana is a visualization and analytics platform. It is used to create dashboards and alerts based on the metrics collected by Prometheus.
3- Portainer :
Portainer is a container management tool. It is used to manage and monitor Docker containers.
- This is a docker-compose file that sets up three services: consumer, product, and order. Each service is built from a Dockerfile located in a subdirectory and tagged with the short commit hash of the Git repository.
1- Customer :
- The customer service is built from the Dockerfile located in the ./customers directory. It listens on port 7070.
2- Product :
-
The product service is built from the Dockerfile located in the ./products directory. It listens on port 8080.
-
This is a Flask API that connects to a MySQL database and uses OAuth1 authentication to interact with a WooCommerce API. The API has 4 endpoints: /add_product and /get_product/int:product_id and /update_product/int:product_id and /delete_product/int:product_id.
-
The /add_product endpoint adds a new product to the WooCommerce API and returns the product ID if successful.
-
The /get_product/int:product_id endpoint retrieves the details of a product with the given ID from the WooCommerce API and returns the details as a JSON object.
-
The /update_product/int:product_id endpoint updates the details of a product with the given ID in the WooCommerce API using a PUT request. The updated product data is obtained from the request body. The endpoint checks if the regular_price field is a valid float or integer and returns an error if it is not. The endpoint also checks if the token is authorized before sending the PUT request to the WooCommerce API. If the update is successful, the endpoint returns a success message with a status code of 200. Otherwise, it returns an error message with a status code of 500.
-
The /delete_product/int:product_id endpoint deletes a product with the given ID from the WooCommerce API using a DELETE request. The endpoint checks if the token is authorized before sending the DELETE request to the WooCommerce API. If the deletion is successful, the endpoint returns a success message with a status code of 200. Otherwise, it returns an error message with a status code of 500.
3- Order:
- The order service is built from the Dockerfile located in the ./orders directory. It listens on port 9090.
Important : You can use the file config for Postman from the Repository to test all the end points after the deployement of the solution " Project B.postman_collection "
Containers IPs:

- Customer Microservice                  : 192.168.10.10:7070

- Product Microservice                   : 192.168.10.10:8080

- Order Microservice                     : 192.168.10.10:9090
API END-POINTS:


User ( Customer ) Microservice:

    Generate Token  :  http://192.168.10.40/customer_token
    Add New User    :  http://192.168.10.40/add_customer
    Update User     :  http://192.168.10.40/update_user/<id>
    Delete User     :  http://192.168.10.40/delete_user/<id>
    Get User        :  http://192.168.10.40/get_user/<id>
    Get Users       :  http://192.168.10.40/get_users

Products Microservice:


    Generate Token  :  http://192.168.10.40/token_product
    Add Product     :  http://192.168.10.40/add_product
    Update Product  :  http://192.168.10.40/get_product/<id>
    Delete Product  :  http://192.168.10.40:8080/delete_product/<id>
    Get Product     :  http://192.168.10.40/get_product/<id>

Orders Microservice:

    Generate Token  :  http://192.168.10.40/token_order
    Add Order       :  http://192.168.10.40/add_order
    Update Order    :  http://192.168.10.40/update_order/<id>
    Delete Order    :  http://192.168.10.40/delete_order/<id>
    Get Order       :  http://192.168.10.40/get_product/<id>
5 - Usage :
- Clone the repository on your machine.
- Open a terminal and navigate to the directory of the repository.
- Run the command vagrant up to create the virtual machines.
- Once the virtual machines are created, you can access them using :
vagrant ssh <vm-name>

**Or**

ssh vagrant@vm_ip
**VMs IPs:**

- Production Machine       : 192.168.10.10
- CI/CD Server "Jenkins"   : 192.168.10.20
- Observability Machine    : 192.168.10.30
- Haproxy Machine          : 192.168.10.40
- 1- Install Wordpress On MySQL, Using this link : 192.168.10.10:8888
- 2- Generate AN API Keys From Woo Commerce with READ/WRITE Permissions.
- 3- Add your keys on : .env files for each Microservices.
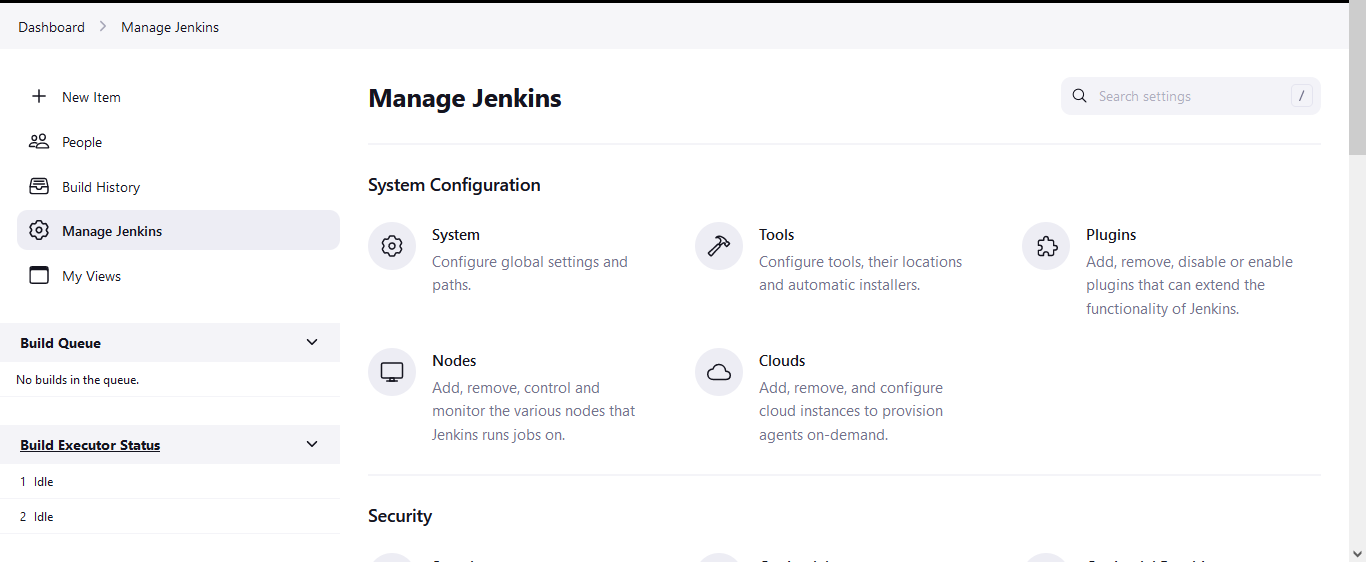
- 4- Install Jenkins using the GUI: 192.168.10.20:5555 ( Create a new user on Jenkins GUI AND Don't USE ADMIN)
- 5- Connect to the VM1, and set a new password for the Jenkins User By Using :
sudo passwd jenkins
- 6- Generate SSH Keys :
JenkinsMaster Container :

ssh-keygen -t ed25519 -C "your-github-email"

Production ( Jenkins Agent) ( You Should Switch to Jenkins User using " su - jenkins" ) :

ssh-keygen -t ed25519 -C "your-github-email"
- 7- Add GitHub Host Keys on :
- Jenkins Master Container :

ssh-keyscan github.com >> ~/.ssh/known_hosts

- Production Machine ( You Should Switch to Jenkins User) :

ssh-keyscan github.com >> ~/.ssh/known_hosts
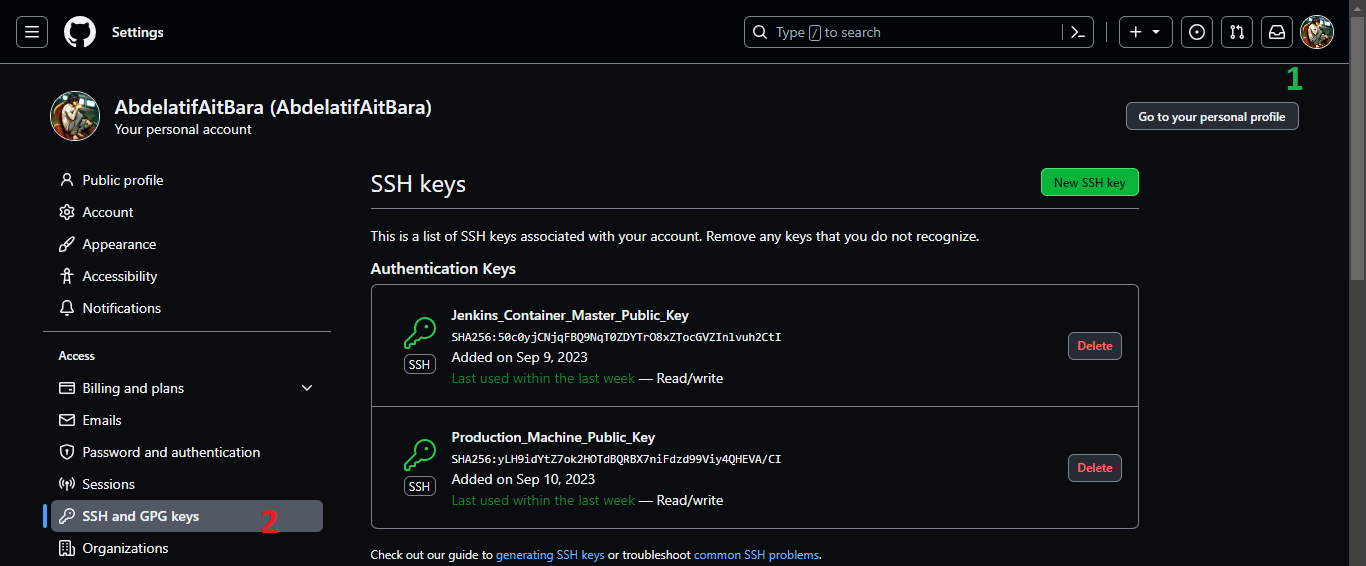
- 8- Add the PUBLIC keys to your GitHub As Bellow :
- 9- On the JenkinsMaster container scan the Agent Hosts (Production):
ssh-keyscan 192.168.10.10 >> /var/jenkins_home/.ssh/known_hosts

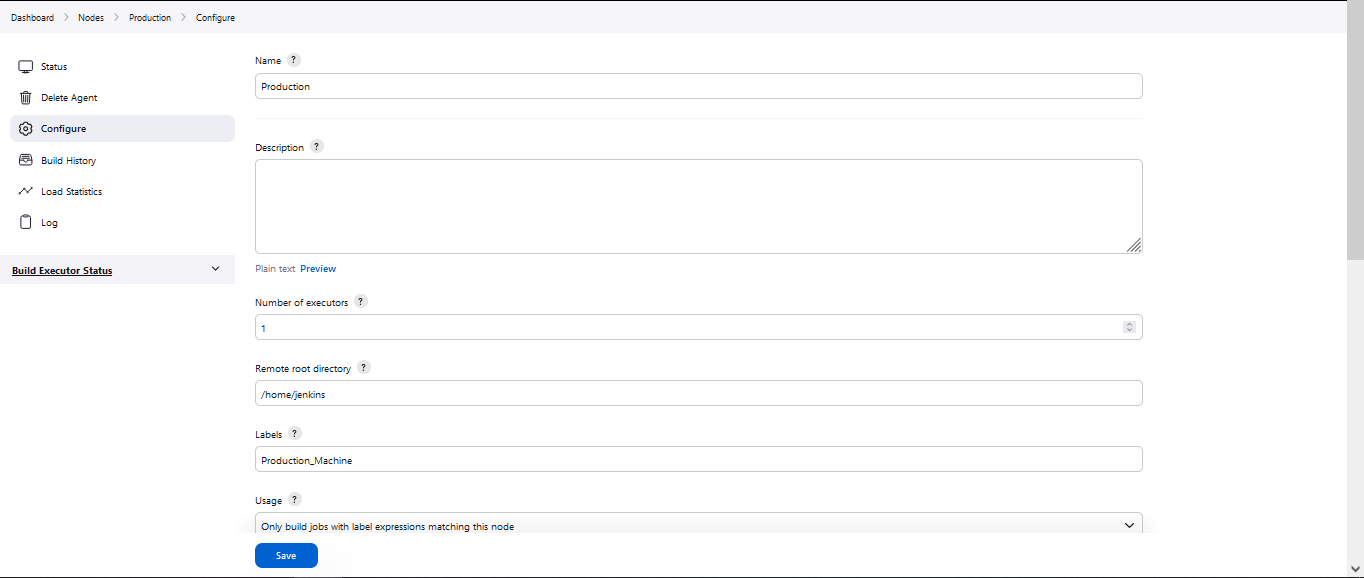
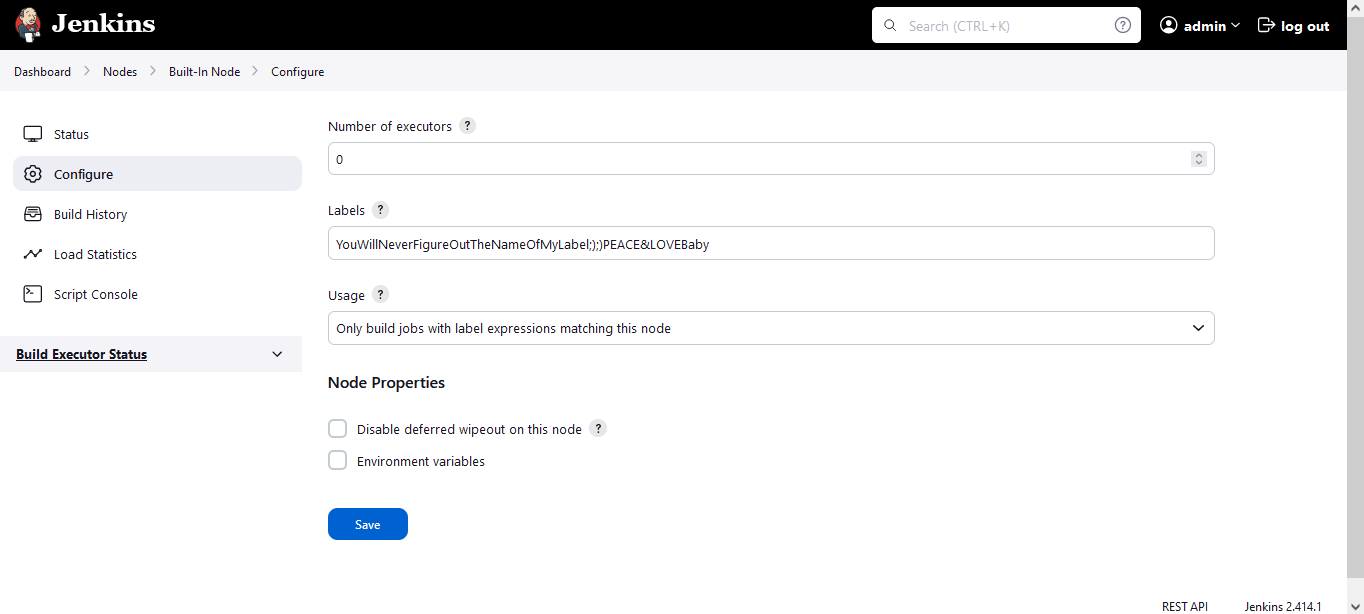
10- Configure your Jenkins Agent( Production Machine ), Try the apply the same configurations as bellow :

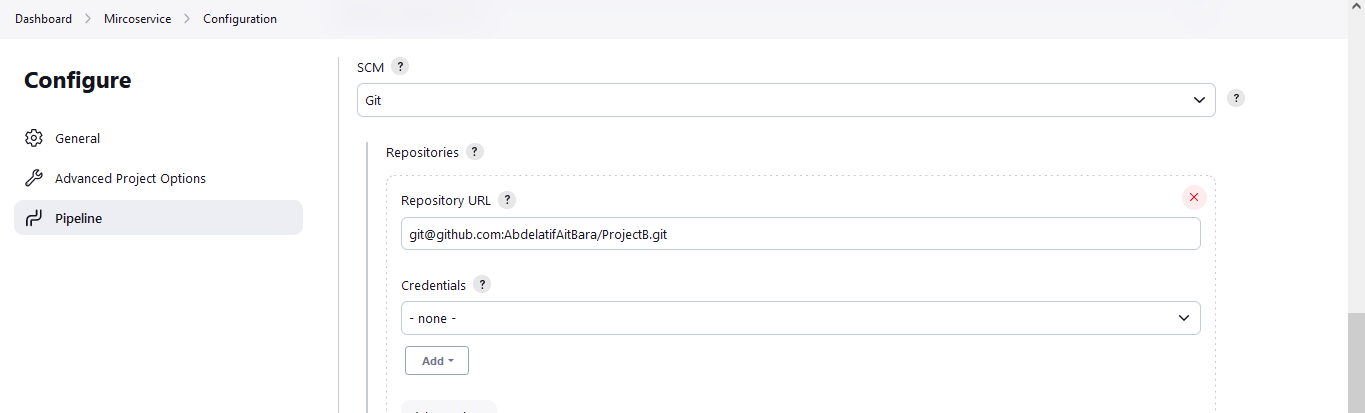
11- Pipeline Configuration EXAMPLE :