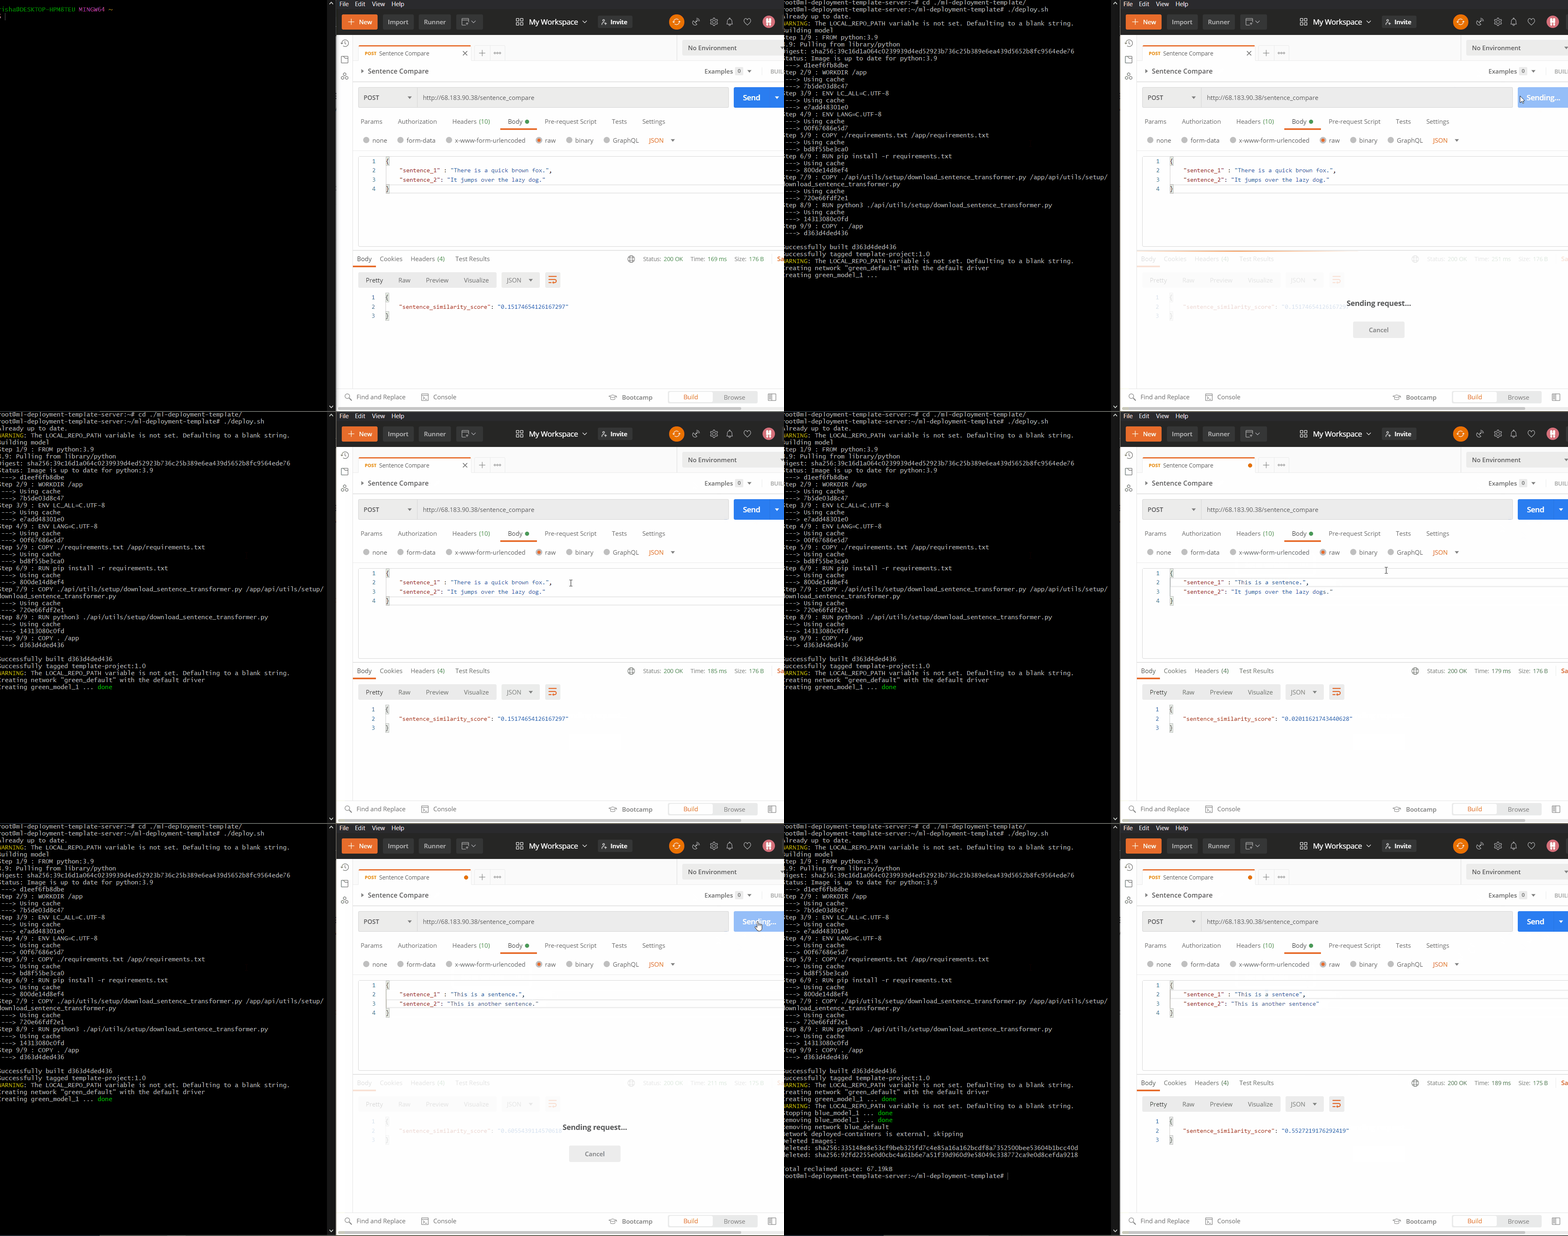
Say you've worked hard to build and finetune a model. Maybe you've done this for a Kaggle competition. Or for your own protfolio. Now you want to make it available for everyone's use. But you're not entirely sure how to engineer your model into an API. Well, this template project is meant to solve that problem for you! It is built for anyone who wants to quickly and easily deploy a machine learning model as an API.
It's specially designed with Docker so that your development and deployment environments are identical. It also allows for zero-downtime re-deployments using Taefik. This makes the process of continuously updating the code for your deployed model very smooth. Also, the fact that everything is Docker-based means you can easily translate this into the CI/CD pipeline of your choice (the docker-compose.yml file has configurations for two basic CI/CD stages - testing and deployment).
The zero-downtime deployment infrastructure available in this project is explained in this Medium post.
I will soon be making a video demonstrating how to use this template project. But until then, this section will server as a quick overview. The default functionality already present in the project is there as an example which you can mimic.
- Inject your ML code in the
./modeldirectory. By default, the directory comes pre-loaded with code for sentence comparison using a BERT sentence encoder. - Specify your endpoints in
app.py. The default sentence comparison functionality is exposed from this endpoint in theapp.pyfile. It also contains a dummy endpoint for quick testing. - Optionally, write the corresponding test cases in the
./api/tests/test_app.py.
- Make sure you have Docker, docker-compose, and git installed on your Linux server.
- SSH into the server and clone your code
- Run
deploy.shfrom the root of the cloned repository.
That's literally it!
You can re-deploy whenever you want with zero-downtime by running this script. To get a better understanding of what this script does, refer to the Medium post above.
One of the most powerful things about this template is that you can spin up a local development environment that will mimic your deployment exactly. This is possible because of Docker and docker-compose.
- Create a
.envfile with the appropriate values for the environment variables (refer to.env.template). It is gitignored by default, so your local values for the environment variables won't be pushed to the remote repo. - Run
docker-compose up -d recommender-dev - Access the terminal of the local dev container with
docker exec -it recommender-dev bash. You can now use it just like a terminal on your local machine.
The following commands can be run from within the container for different purposes:
- To bring up the API:
uvicorn --host 0.0.0.0 --port 80 app:app - To run the unit testing suite:
python3 -m pytest - To run a Jupyter Notebook (without authentication):
jupyter notebook --ip 0.0.0.0 --port 5000 --allow-root --NotebookApp.token='' --NotebookApp.password=''
Note that you will have to be connected to the interpreter /usr/bin/python3 from inside this container (recommender-dev). This is possible in PyCharm Professional and VSCode (with the Remote Containers extension).
The code under the main-guard (if __name__ == "__main__") in app.py can be used to debug the API.
It will bring up the API, create a test client and send the request to the API. If you've set breakpoints in your code, the processing of that request can be debugged with those breakpoints.
